
CNC Surface Finishing: From As-Machined to Mirror Polish — What to Specify
Here’s a situation that happens more often than you’d think. You spend three weeks designing a part, run FEA, optimize the geometry, pick the perfect material — then you get the parts back from the machine shop and they look… rough. Tool marks everywhere. That “professional” aluminum bracket you designed? It looks like it was dug out of a scrap bin.
Surface finishing isn’t an afterthought. It’s a manufacturing decision that affects fit, function, corrosion resistance, and how your customer perceives quality before they even pick up the part. I’ve been on both sides of this — specifying finishes as a design engineer and applying them on the shop floor. Here’s what actually matters.
Core Concepts & Fundamentals — What Surface Finish Actually Means
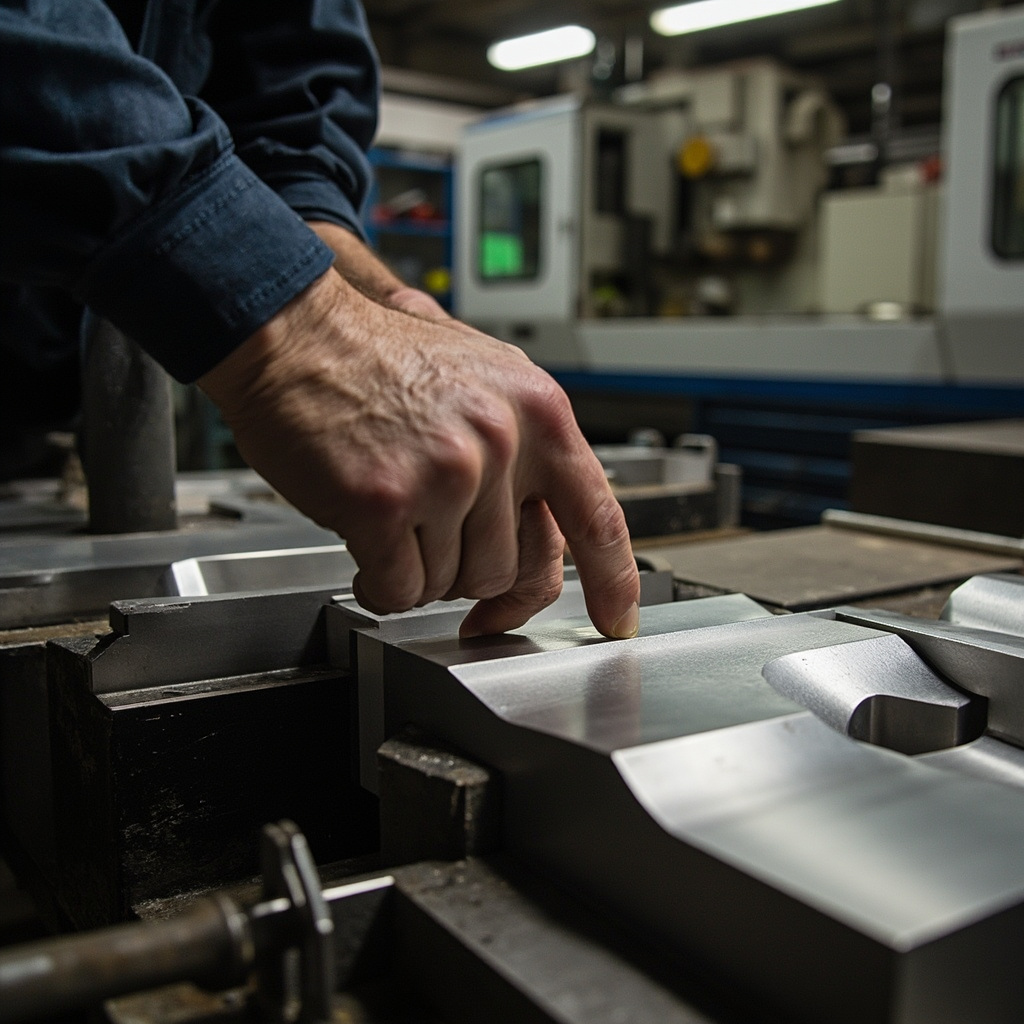
When engineers talk surface finish, they’re usually throwing around “Ra.” But most people couldn’t tell you what it actually measures.
Ra (Roughness Average) is the arithmetic average of surface height deviations from the mean line across a sampling length. In plain English: it’s the average height of peaks and valleys on your surface. Lower Ra = smoother.
The numbers you’ll see on drawings every day:
- Ra 3.2 μm (125 μin) — Standard as-machined finish. You can feel the tool marks with your fingernail. Totally fine for internal features, bracket mounts, and anything hidden behind a cover.
- Ra 1.6 μm (63 μin) — Fine machined finish. Smooth to touch, visible lay pattern. Good enough for most general-purpose mechanical parts.
- Ra 0.8 μm (32 μin) — High-quality ground or milled surface. This is where sealing surfaces live — O-ring grooves, gasket faces, hydraulic manifold mating surfaces.
- Ra 0.4 μm (16 μin) — Mirror-like territory. Polished, lapped, or honed. You see this on mold cavities, optical mounts, and bearing journals.
- Ra 0.2 μm (8 μin) — Optical quality. You’re in specialized territory now, and the cost curve gets steep.
But here’s the thing Ra doesn’t tell you: what the surface actually looks like. Two surfaces with identical Ra values can look completely different — one with uniform shallow scratches, another with occasional deep gouges. The average hides the outliers.
That’s why Rz exists. Rz measures the average peak-to-valley height over five sampling lengths. It catches the deep scratches and pits that Ra averages away. For sealing surfaces and fatigue-critical parts, Rz gives you a more honest picture. If you’re specifying a hydraulic manifold, use Rz — one deep scratch is all it takes to leak.
Surface finish also has a huge relationship with material behavior. Cracks propagate from surface imperfections. Corrosion starts in crevices. Fatigue life drops dramatically as surface roughness increases. A polished crankshaft journal lasts longer than a rough one — not because it’s prettier, but because there’s nothing for a crack to grab onto.
Key Processes & Technologies — The Finishing Toolbox
Not all finishing methods are created equal. Some change the geometry by removing material, some add material as a coating, and some just rearrange the surface mechanically without changing dimensions much at all. Knowing which bucket each method falls into is half the battle.
| Finishing Method | Material Removal? | Typical Ra Achieved | Best For | Lead Time Impact |
|---|---|---|---|---|
| As-Machined | N/A (baseline) | 1.6–3.2 μm | Internal features, non-cosmetic structural parts | None — default |
| Bead Blasting | Minimal (surface peening) | 0.8–2.5 μm | Uniform matte finish, cosmetic aluminum, pre-anodize prep | +1–2 days |
| Anodizing — Type II | No — conversion coating | Follows substrate Ra | Corrosion resistance + color on aluminum, cosmetic parts | +3–5 days |
| Anodizing — Type III Hardcoat | Builds surface up ~50μm | Higher Ra than Type II | Wear surfaces, aerospace components, sliding parts | +5–7 days |
| Powder Coating | No — adds 50–150μm layer | Glossy, satin, or textured | Steel enclosures, consumer products, outdoor equipment | +3–5 days |
| Electroplating | No — deposits metal layer | Varies — often mirror | Decorative chrome, corrosion barrier (zinc/nickel), wear surfaces (hard chrome) | +5–10 days |
| Electropolishing | Yes — dissolves surface peaks | 0.1–0.4 μm | Stainless steel — medical devices, food equipment, pharma vessels | +3–7 days |
| Hand / Mechanical Polishing | Yes — abrasive removal | 0.05–0.2 μm | Mirror finish on mold cavities, decorative trim, optical surfaces | +5–15 days (labor heavy) |
| Vibratory Tumbling | Yes — gentle bulk abrasion | 0.5–1.6 μm | Deburring, edge breaking, uniform finish on small batch parts | +1–2 days |
| Passivation | No — chemical treatment | No Ra change | Stainless steel corrosion resistance — removes free iron from surface | +1–2 days |
Here’s what the spec sheet won’t tell you: method order matters more than method choice sometimes. You can’t anodize over powder coat. You can’t bead blast after anodizing — it’ll strip the coating right off. Electropolishing comes before passivation, not after. The finishing sequence has to be baked into your process plan from day one, not figured out after the parts are already machined.
Another shop-floor observation: combining methods often beats spending big on one. Bead blast followed by Type II anodize gives you a gorgeous matte finish with corrosion protection for maybe $3 extra per part. Hand-polish the same part to mirror and it costs five times more and doesn’t protect against corrosion at all. Smart combinations beat brute force.
Industrial Applications — Where the Finish Makes or Breaks the Part
| Industry | Application | Material | Key Requirement | nylonplastic.com Advantage |
|---|---|---|---|---|
| Medical | Surgical instrument handles | 316L Stainless Steel | Electropolished to Ra ≤0.4μm — zero bacteria-harboring surface crevices | In-house electropolishing + passivation for full biocompatibility chain under one quality system |
| Automotive | Aluminum intake manifold | 6061-T6 Aluminum | Type II black anodized exterior for corrosion resistance + cosmetic Class A surface | CNC machining + anodizing under one roof — no subcontracting delays, no finger-pointing |
| Aerospace | Landing gear bushing housing | 7075-T6 Aluminum | Type III hardcoat anodize, 50μm minimum thickness, wear-resistant at -40°C to 80°C | Hardcoat anodize with thickness certification reports, full batch traceability per AS9100 |
| Electronics | Heatsink enclosure housing | 6063 Aluminum | Black anodized for thermal emissivity — cosmetic Class A visible surface | Precision CNC + color-matched anodizing with thermal performance verification |
| Industrial Equipment | Hydraulic manifold block | 6061-T6 / 7075-T6 | Sealing surfaces ground to Ra ≤0.8μm — zero leaks at 3000 PSI operating pressure | Surface-ground mating faces, pressure-tested before shipment with inspection reports |
| Food & Beverage | Mixer paddle assembly | 304 Stainless Steel | Electropolished + passivated, Ra ≤0.8μm, no weld crevices, FDA-compliant | Full stainless finishing chain + documented surface verification for FDA audit readiness |
| Robotic Automation | End-effector mounting plate | 7075-T6 Aluminum | Hardcoat anodized for repetitive impact wear, flatness maintained to 0.02mm | CNC ground flat before hardcoat, post-coat inspection ensures flatness didn’t shift |
Notice the pattern? In every single row, the surface finish isn’t arbitrary — it’s directly tied to a functional requirement. Sealing. Wear. Corrosion. Cleanability. Thermal performance. If you’re writing “Ra 0.8” on a drawing and can’t explain why Ra 1.6 won’t work, you’re probably over-specifying and spending money you don’t need to spend.
Material Selection — What Actually Works
Here’s a hard truth from the shop floor: not every material takes every finish. Some combinations are magic. Others are a disaster waiting to happen.
Aluminum (6061-T6). The finisher’s dream material. Anodizes beautifully with consistent color across batches. Takes bead blasting like a champ. Polishes to a genuine mirror. If you’re prototyping and don’t know what finish you’ll ultimately need, start with 6061 — it keeps your options open.
Aluminum (7075-T6). Machines great, anodizes… differently. The higher copper and zinc content produces a darker, less vibrant dye uptake compared to 6061. Same color spec, visibly different result. If color matching matters and you’re mixing alloys, run samples first or standardize on one.
Cast Aluminum (A380, A356). Don’t anodize this stuff unless you know what you’re doing. The silicon particles in the alloy create dark spots and uneven dye absorption. It looks blotchy. Powder coat it instead — the coating hides the surface inconsistencies completely.
Stainless Steel (304, 316L). Electropolishing is your best friend. It dissolves surface peaks and simultaneously passivates the material — you get food-grade smoothness and corrosion resistance in one step. Hand-polishing stainless is miserable, slow work. Avoid it when you can.
Mild Steel (1018, A36, 1045). Your finishing options: powder coating, wet painting, electroplating (zinc for corrosion, nickel for looks, hard chrome for wear), or black oxide for light-duty indoor applications. Raw steel rusts. Always. Don’t ship it uncoated unless it’s going straight into a climate-controlled enclosure with desiccant packs. You’d be surprised how many engineers forget this step.
Titanium (Grade 5 / Ti-6Al-4V). Titanium anodizing is a completely different animal — it’s not a coating, it’s a controlled oxide layer that produces interference colors based on voltage, not dye. Gorgeous results if you nail it, but batch-to-batch consistency is tough. Don’t expect Pantone matching.
Brass and Copper. Pretty when polished, ugly when tarnished — and they tarnish fast. Polish and lacquer, or plate with nickel/chrome for lasting protection. Electroless nickel plating works brilliantly here because it deposits uniform thickness even inside blind holes and complex internal geometry.
One counterintuitive thing: harder materials sometimes look worse off the machine. A soft 6061 aluminum part may come off the mill with a cleaner cosmetic surface than a harder 7075 part, simply because the tool bites more cleanly and consistently. Don’t assume premium alloy = premium surface.
Cost & Performance Trade-offs
Let’s talk money — because surface finishing can easily add 20-50% to your part cost, and nobody budgets for it properly on the first project.
What drives finishing cost? Three things, always:
1. Labor. Hand polishing and manual deburring are the budget killers. A complex part that machines in 20 minutes might take an hour to hand-polish to mirror. The machine time is cheap compared to skilled polishing labor. For production runs, look at vibratory finishing or automated methods to take the human out of the loop.
2. Batching. Anodizing and powder coating run in batch tanks and ovens. If your color isn’t already in the queue, you wait — or pay a setup premium. Standard anodize colors (clear, black, blue, red) run frequently and cost less. Custom color matching? Add money and lead time. A shop running black anodize every day can slot your parts in fast. A one-off gold anodize job needs a dedicated tank run.
3. Geometry. Blind holes, deep pockets, and internal cavities are finishing nightmares. Bead blasting media gets trapped in corners. Anodizing solution doesn’t circulate well in deep bores. Electropolishing needs line-of-sight between the part and the cathode — internal geometry gets less current, less polishing. Design for finishing: add drain holes, avoid trapped volumes, and relax Ra requirements on difficult-to-reach internal features.
Thickness stack-up. Anodizing adds 5-25μm to aluminum surfaces. Hardcoat can add 50-75μm, with roughly half the growth going outward and half penetrating inward. If you have a tight-tolerance bore (H7 or tighter), you have two choices: mask it off before anodizing, or machine it after. Powder coating adds 50-150μm — forget holding anything tighter than ±0.1mm on a powder-coated surface. Electroplating thickness varies by process but typically 5-25μm for decorative, up to 100μm+ for hard chrome.
Quick cost ranking (scale 1-10, where 1 = as-machined baseline, 10 = custom mirror hand polish):
- As-machined: 1 — free, it’s your starting point
- Vibratory tumble deburr: 2 — cheap, great for batches
- Bead blast: 2-3 — fast and uniform
- Type II anodize, standard color: 3-4 — bread and butter
- Powder coat, standard color: 3-4 — same ballpark
- Passivation: 2 — chemical dip, minimal cost
- Electropolish: 4-6 — process control matters
- Type III hardcoat anodize: 5-7 — longer process, tighter control
- Zinc or electroless nickel plate: 4-6 — depends on thickness spec
- Hand polish to mirror: 8-10 — labor, labor, labor
Smart money move: combine a cheap mechanical finish (bead blast) with a standard coating (Type II anodize). You get a premium-looking result at mid-range cost. The blast texture gives the anodize something to grip, and the color evens out beautifully.
Quality Standards & Best Practices
“Smooth finish” is not a specification. “Make it look nice” is worse. Here’s what actually works when you’re communicating finish requirements to a machine shop:
1. Use proper surface finish symbols on your drawings. ISO 1302 or ASME Y14.36 — pick one standard and stick with it. A proper callout includes Ra or Rz value, the machining lay direction if relevant, and any process specification. “Ra 0.8 μm max, lay parallel to datum A” — that tells the shop exactly what you need.
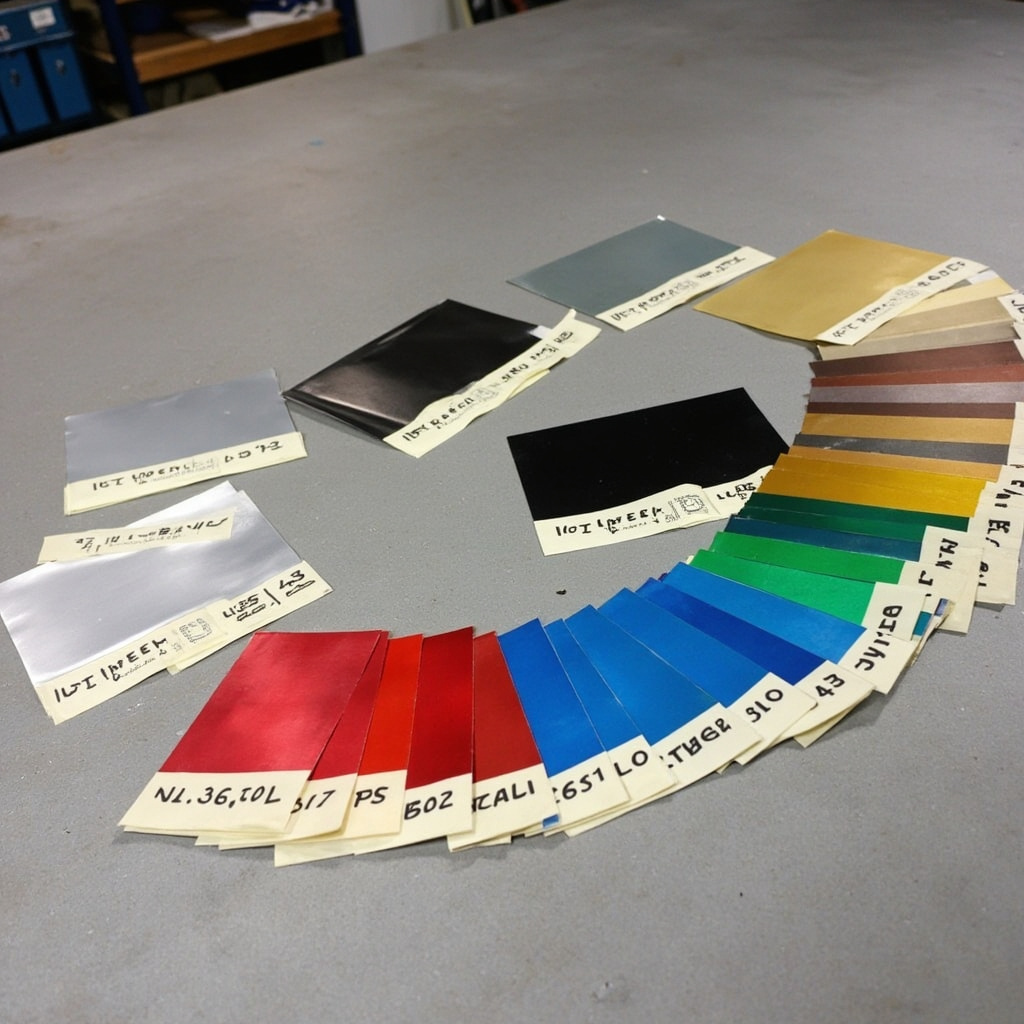
2. Buy surface roughness comparator plates. These physical plates cost about $50-100 and they’re worth their weight in gold. You hand the shop a comparator and say “match this one.” No language barrier, no CAD-to-reality translation error, no interpretation drift. Visual standards beat written specs every time for cosmetic finishes.
3. Cite the full spec. “Anodize per MIL-A-8625 Type II, Class 2, Black” — that’s a complete specification in one line. It tells the shop the governing standard, the anodize type, the sealing class, and the color. No phone calls needed to clarify. Same principle applies: “Electropolish per ASTM B912, passivate per ASTM A967” — done.
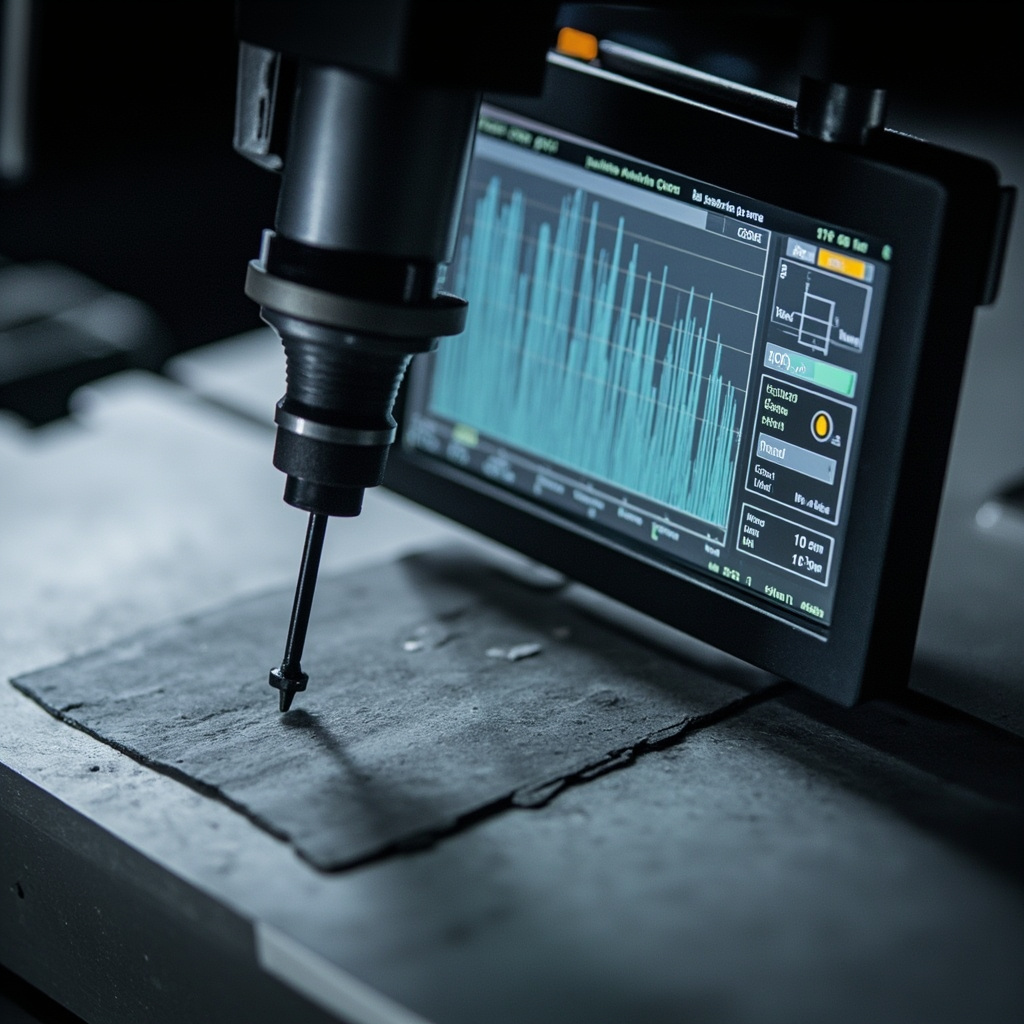
4. Agree on inspection method before you order. For Ra ≤1.6 μm, a standard profilometer is fine and most shops have one. For Ra ≤0.4 μm, you might need optical interferometry or a high-end contact profilometer — and not every shop owns that equipment. Discuss it upfront. If the supplier can’t verify the spec you’re asking for, you have a problem.
5. Master samples for color matching. Anodizing color shifts between batches. Always shifts a little. If color consistency matters (consumer products, visible assemblies), provide a physical master sample and have the shop match to it. Don’t reference RAL or Pantone numbers for anodizing — the electrochemical process doesn’t respond to ink-on-paper color standards.
Mistakes I see on drawings every single week:
- Specifying Ra 0.4 on internal threads — the thread flank geometry makes this impossible without exotic processes
- Asking for anodizing on a welded aluminum assembly — the weld zone and heat-affected zone anodize differently from the base metal, creating visible color mismatch
- Calling out “mirror polish” without defining what mirror means — SPI A-1 through A-3 diamond polish standards exist for injection mold surfaces; use them
- Forgetting that masking costs money — every feature you mask adds labor. Specify exactly which surfaces get which finish, and which don’t
- Requiring Ra 0.8 on as-cast surfaces without machining allowance — you can’t polish a casting smooth without removing material first
Getting Started — Practical Steps
1. Define function first, finish second. What’s the surface actually doing? Sealing against fluid? Sliding against another part? Looking pretty in a customer’s hands? Blocking corrosion for 10 years outdoors? The functional requirement determines the finish spec, not the other way around. Start with “this surface needs to seal hydraulic oil at 3000 PSI” and work backward to “therefore Ra ≤0.8, ground, lay direction perpendicular to seal.”
2. Call your supplier before you finalize the drawing. Different shops have different finishing capabilities. Some do anodizing in-house, others subcontract it out. This affects lead time, cost, and quality consistency — a shop that owns its finishing process almost always delivers better results than one that trucks parts across town to a third-party plater. At nylonplastic.com, we run most finishing processes under our own roof for exactly this reason.
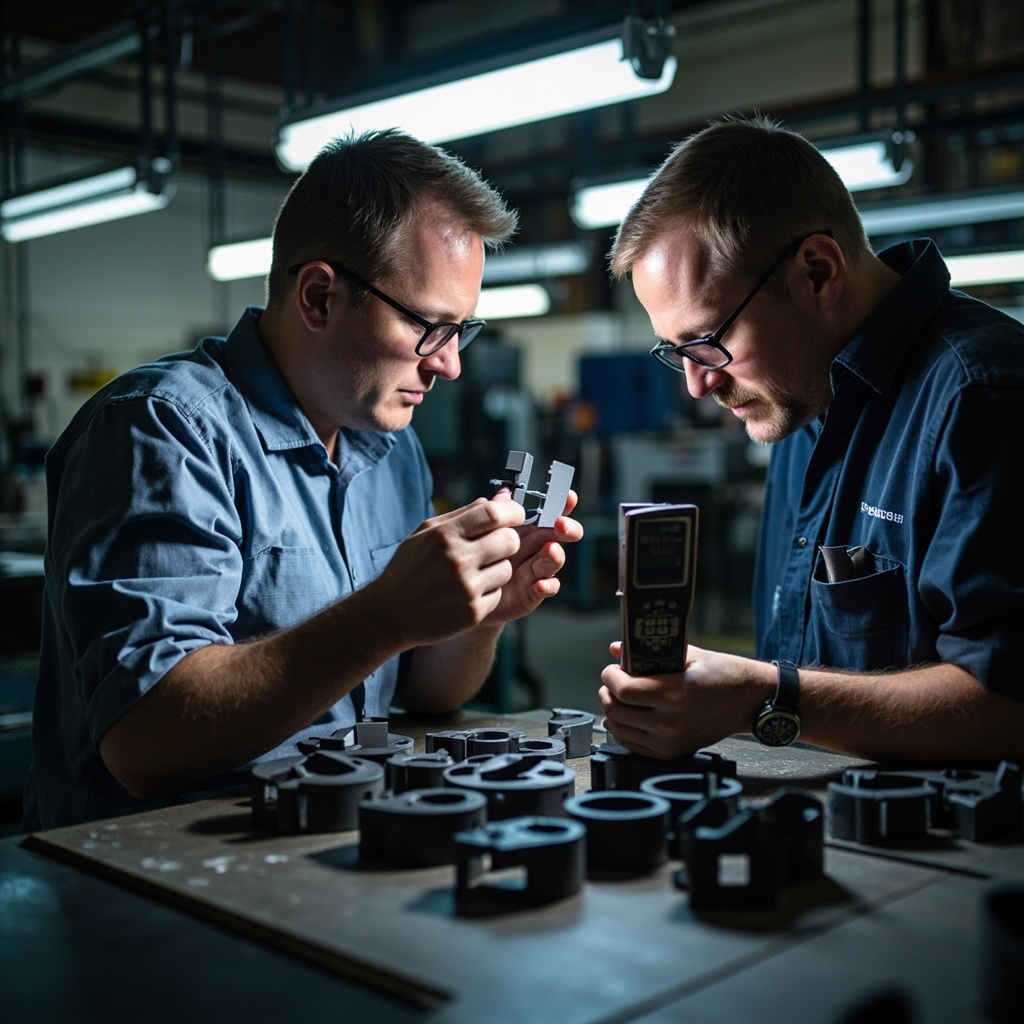
3. Run finishing samples before committing to production. Order one part, finish it, look at it under the actual lighting conditions where it’ll live. Anodized black looks dramatically different under fluorescent shop lights versus natural office window light versus showroom spotlighting. The finish that looks perfect on your desk might look terrible in the application environment.
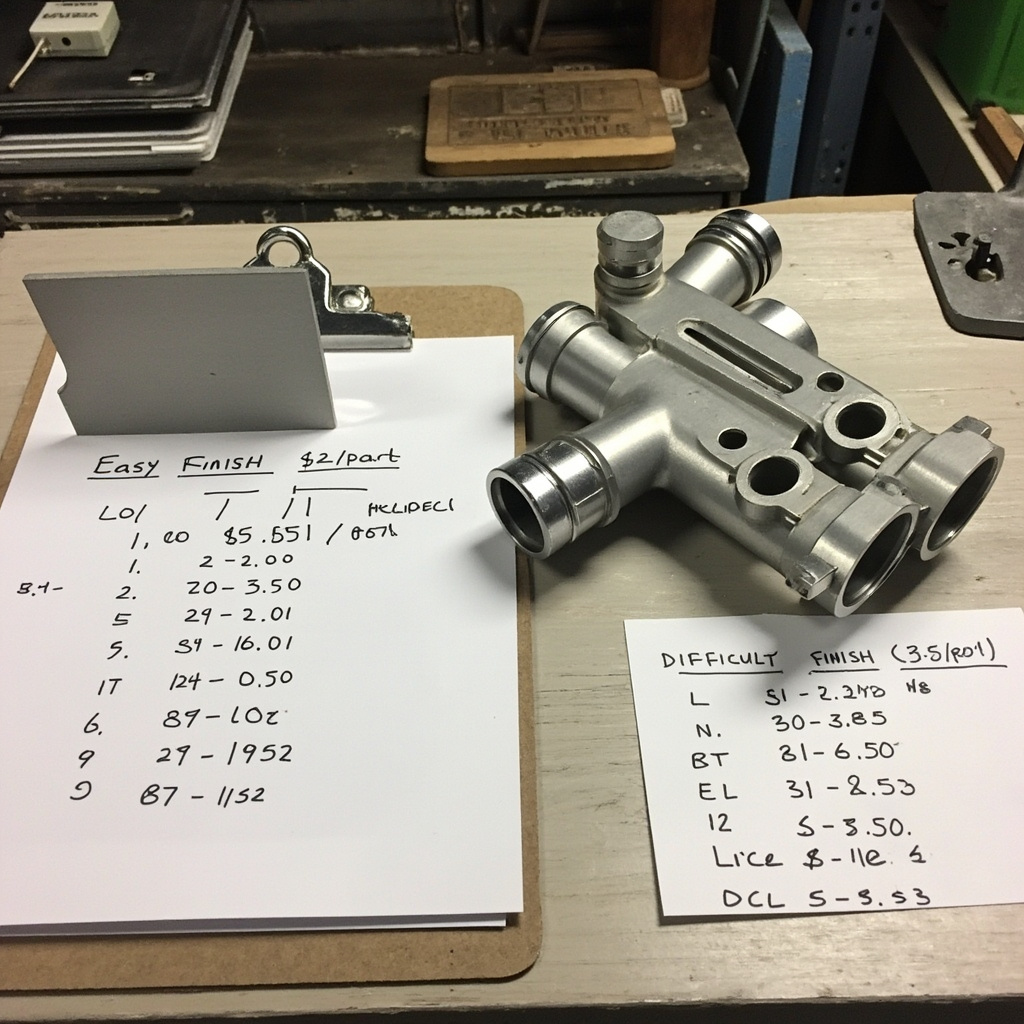
4. Prototype multiple finishes on the same geometry. For a new product launch, it’s worth running 3-5 finishing samples — bead blast, anodize, powder coat, electropolish — all on the exact same part geometry. Costs maybe $200-400 in samples. Saves thousands in rework and lost time if you pick the wrong finish for production.
5. Don’t over-specify. Every time you tighten Ra from 1.6 to 0.8, you’re adding cost. Every surface you call out for polishing adds labor. If the internal pocket nobody ever sees doesn’t need a cosmetic finish, say so. Put the finish money where it matters — on the surfaces the customer touches and the surfaces that make the part function.
Frequently Asked Questions
Q: What’s the difference between Ra and Rz, and which should I use on my drawing?
Ra is the arithmetic average roughness — it smooths out the peaks and valleys into a single number. Rz measures the average of the five highest peaks and five deepest valleys over the sampling length. For sealing surfaces and fatigue-critical parts, specify Rz — it catches the single deep scratch that Ra would average away into invisibility. For general cosmetic surfaces, Ra is fine.
Q: Can I anodize a part that’s already been bead blasted?
Yes — and it’s actually a very common, very effective sequence. Bead blast first to create the uniform matte texture, then anodize. The anodizing process won’t fill in or smooth out the blasted surface texture appreciably. Don’t reverse the order — bead blasting an already-anodized part will strip the coating layer right off.
Q: Why does my 7075 anodized part look darker and duller than the same color spec on 6061?
7075 has higher zinc and copper content than 6061. During anodizing, the copper in the alloy matrix interferes with dye absorption, producing a darker, less vibrant result. If color matching between alloy grades matters for your assembly, either standardize on one alloy or run samples and set expectations with your customer before production.
Q: How do I specify finish on internal features like small bores and threads?
Be realistic. Internal features below about 6mm diameter are extremely difficult to finish beyond the as-machined surface. Don’t call out Ra 0.8 inside a 3mm blind hole — it’s not happening without specialized abrasive flow machining which costs a fortune. For threaded holes, the as-tapped or thread-milled finish is typically sufficient for all but the most exotic applications.
Q: What’s the most cost-effective way to make steel parts look good and resist rust?
Powder coating wins for most applications — it’s fast, durable, hides machining marks, and standard colors (black, white, gray) run constantly so there’s no batch premium. For smaller steel parts with tighter tolerance requirements, electroless nickel plating is excellent — it gives uniform thickness even in blind holes and provides solid corrosion resistance without the dimensional variation that powder coat introduces.
Conclusion
Surface finishing is one of those manufacturing disciplines where a little knowledge goes a long way. Know your Ra and Rz values, match your finish to your function, and communicate clearly on your drawings. The biggest finishing mistake isn’t picking the wrong process — it’s not thinking about finish at all until the parts show up looking like they were dragged behind a truck.
Shop-floor truth: finishing is part of manufacturing, not something you tack on at the end. Build it into your process plan from day one, budget for it honestly, and talk to your supplier before the drawing is frozen. Your parts will look better, perform better, and cost less in the long run because you won’t be paying for rework, remakes, and rushed expediting fees.
One roof matters. When your machine shop and finishing house are the same company, quality flows naturally — no shipping damage between processes, no “their fault” blame game, one team accountable for the final result.
Related Resources
- One-Stop Manufacturing Solution — See how we combine CNC machining, injection molding, and finishing under one roof
- Surface Finishing Customization Guide — Deep dive into every finishing process we offer with material compatibility charts
- CNC Machining Materials Guide — Match your material choice to both machining and finishing requirements
- Product Design for Manufacturing — Design rules that make finishing easier, cheaper, and more consistent
Need Parts with the Right Finish?
You’ve got a part that needs anodizing, bead blasting, electropolishing, hardcoat, or something custom. Don’t guess at the spec — let’s figure it out together. Send us your STEP file or drawing, tell us what the part needs to do, and we’ll recommend the right finish, quote it honestly, and get it right the first time. Everything under one roof means one point of contact, one quality system, one team accountable. No chasing down separate finishing shops when deadlines get tight. Get your quote here →


 English
 Dutch
Dutch German
 French
 Korean
 Russian
 Japanese
 Spanish
 Vietnamese
 Chinese
 Portuguese
 Arabic