
Here’s a statistic that keeps product designers up at night: the mold is 60–80% of your injection molding project cost, and about 40% of molds need rework before they produce acceptable parts the first time. That’s not because mold makers are bad at their jobs — it’s because mold design is where theory meets reality, and reality usually wins.
I’ve been on both sides of this conversation. The product designer who specs a mold without understanding what makes one work — and the mold maker who has to explain why that beautiful CAD model needs four slides, a collapsible core, and costs triple what was budgeted.
This isn’t a mold design textbook. It’s what you actually need to know to spec a mold, talk to a mold maker without sounding lost, and get parts that work. Let’s get into it.
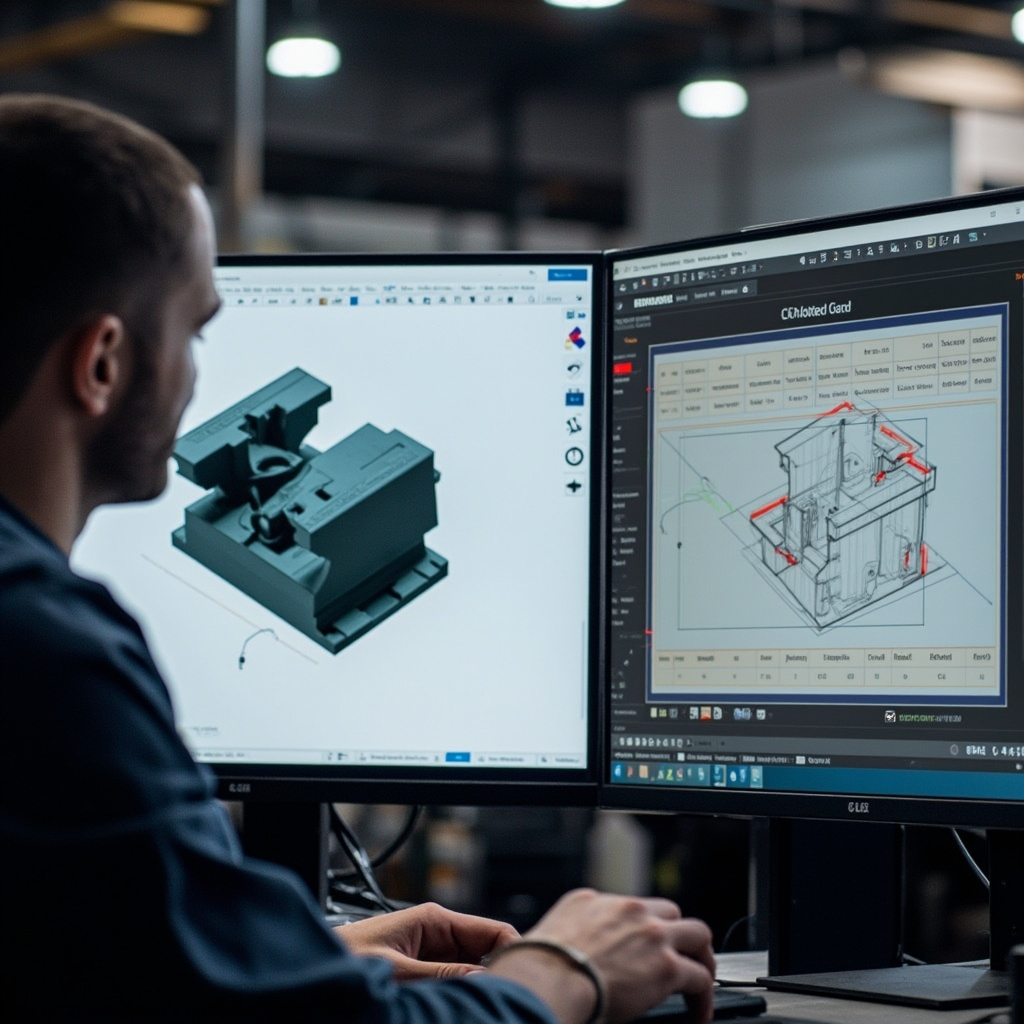
Core Concepts: How an Injection Mold Actually Works
At its simplest, an injection mold is two blocks of steel that clamp together, get filled with molten plastic under pressure, and then separate so you can pull the part out. But that sentence hides about a thousand design decisions.
Every injection mold has these core components:
- Cavity (A-side): The stationary half — usually forms the exterior of your part. Mounted to the injection unit side of the press.
- Core (B-side): The moving half — forms the interior surfaces. Mounted to the ejector side. This is where ejector pins live.
- Sprue, runner, and gate system: The path molten plastic takes from the machine nozzle into your part cavity. Get this wrong, and you get short shots, weld lines in bad places, or parts that won’t fill.
- Cooling system: Channels drilled through the mold steel that circulate water (or oil) to pull heat out of the plastic. Cooling time is typically 50–70% of your total cycle. A well-designed cooling system pays for itself in weeks.
- Ejector system: Pins, blades, sleeves, or stripper plates that push the part off the core. If your part has deep ribs or textures, ejection is where things get interesting.
- Venting: Tiny channels that let trapped air escape as plastic fills the cavity. No vents = burn marks, short shots, and parts that look terrible.
The design challenge isn’t any one of these components — it’s getting all of them to work together. A mold with perfect cooling but poorly placed gates will still make bad parts. A mold with great gates but inadequate venting will burn material. Every decision affects every other decision.
Key Mold Types & Technologies
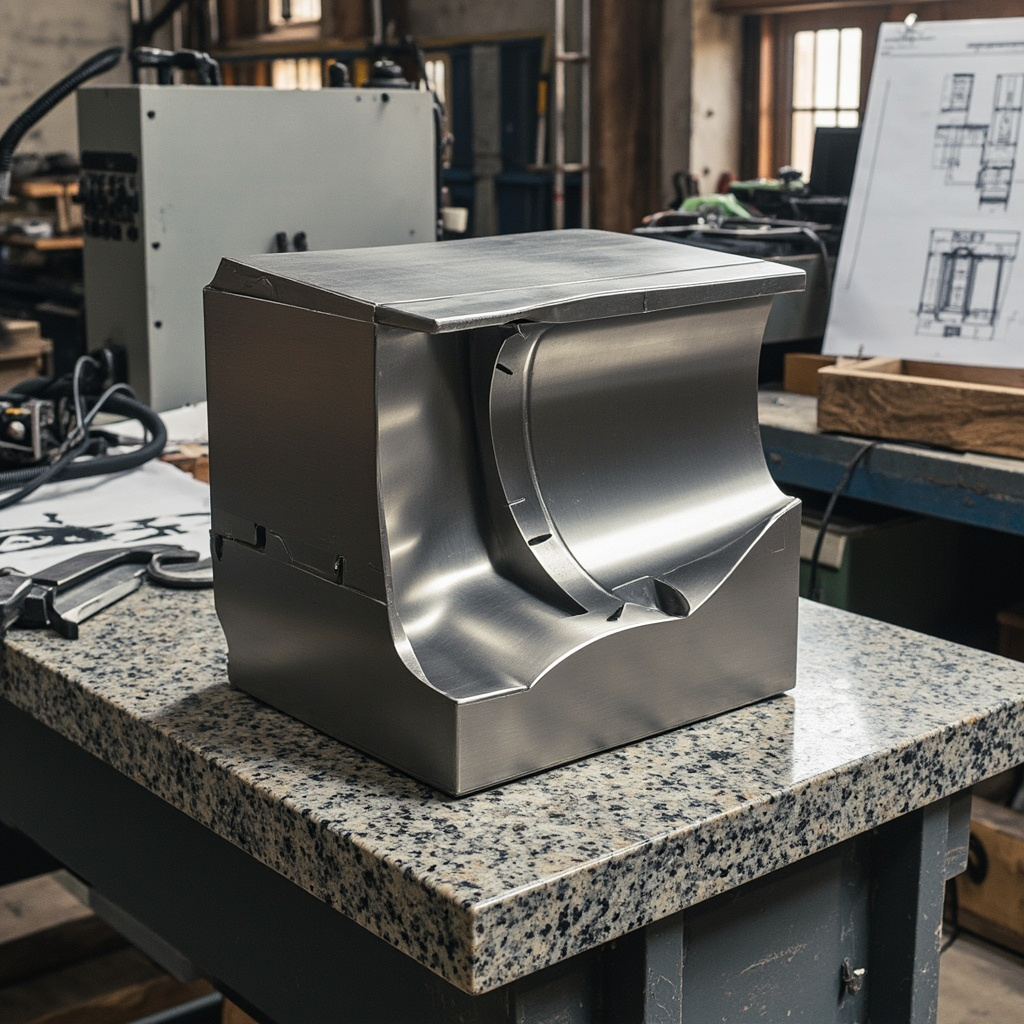
Not all molds are created equal. The type of mold you need depends on part geometry, volume, material, and budget. Here’s what you’re choosing between:
| Mold Type | Best For | Typical Cost Range | Cycle Time | Key Trade-off |
|---|---|---|---|---|
| 2-Plate Mold (Single Parting Line) | Simple parts, low-medium volume, tight budgets | $3,000–$15,000 | Fastest | Gate marks remain on the part edge; runner separates from part at ejection. Simplest to build and maintain. |
| 3-Plate Mold (Double Parting Line) | Parts requiring center gating, multi-cavity with automatic runner separation | $10,000–$40,000 | Slightly longer (extra plate movement) | Automatic runner separation — no manual degating. More complex, more moving parts, higher maintenance. |
| Hot Runner Mold | High-volume production (100k+ parts/year), expensive materials, large parts | $20,000–$100,000+ | Faster (no runner cooling time) | Zero runner waste, faster cycles. Higher upfront cost, more complex temperature control, requires skilled maintenance. |
| Family Mold | Multiple different parts in one mold (e.g., left + right housing) | $15,000–$60,000 | Limited by slowest-filling cavity | One mold, multiple parts. But: all parts must be the same material, and filling imbalance between cavities is a constant battle. |
| Insert Mold / Overmolding | Metal inserts encapsulated in plastic; soft-touch grips over rigid substrates | $15,000–$80,000 | Longer (insert loading time) | Combines materials without assembly. Adds cycle time for manual or robotic insert placement. |
| Unscrewing Mold | Threaded parts (caps, closures, fittings) | $25,000–$80,000 | Longer (unscrewing cycle) | Molds internal/external threads without secondary ops. Complex mechanical or hydraulic drive required. |
| Stack Mold | Ultra-high volume, thin-wall packaging | $50,000–$250,000+ | ~2× parts per cycle | Doubles output without doubling clamp force. Expensive, tall, needs a press with extra daylight. |
Quick rule of thumb: If you’re doing under 10,000 parts per year and the geometry is straightforward, a 2-plate cold runner mold is almost always the right answer. The extra complexity of hot runners or 3-plate designs doesn’t pay back until volumes climb and cycle time optimization matters.
One more thing about cold vs. hot runners: cold runners produce a sprue and runner “tree” that gets reground. For cheap commodity resins (PP, PE), that regrind value is negligible. For PEEK at $80+ per kilogram, throwing away runners hurts. Hot runners eliminate that waste entirely — and on expensive engineering resins, they often pay for themselves within the first production run.
Industrial Applications
| Industry | Application | Material | Key Requirement | nylonplastic.com Advantage |
|---|---|---|---|---|
| Automotive | Interior trim panels, under-hood connectors, fluid reservoirs | PA66 GF30, PBT, PP-TD20 | Heat resistance, dimensional stability, Class A surface finish | In-house mold design optimized for automotive-grade surface quality — we run grained and high-gloss finishes daily |
| Medical | Surgical device housings, diagnostic consumables, fluid manifolds | PC, PEI (Ultem), PPSU | Biocompatibility, tight tolerances, cleanroom molding | ISO 13485 capable — mold steels selected for corrosion resistance against aggressive cleaning chemistries |
| Electronics | Connector housings, device enclosures, battery cases | PC/ABS, LCP, PBT | Thin-wall fill, flame retardancy (UL94 V-0), EMI shielding | Micro-gating expertise for thin-wall electronics — we routinely fill walls under 0.5mm with engineering resins |
| Aerospace | Cable management brackets, interior trim, ducting components | PEI (Ultem), PEEK, PAEK | FST compliance, traceability, lightweight | High-temp mold design (up to 200°C) for aerospace-grade thermoplastics with full material certs |
| Consumer Products | Appliance housings, tool bodies, packaging closures | ABS, PP, PC | Cosmetic finish, cost-efficiency, fast cycle times | Multi-cavity family mold design with balanced filling — cosmetic and functional parts from one mold |
| Industrial Equipment | Gear housings, impellers, pump components | PA6 GF30, POM, PPS | Wear resistance, chemical resistance, structural strength | Hardened mold steels (H13, S136) for abrasive glass-filled materials — tooling built to last 500k+ cycles |
Material Selection for Mold Construction
The plastic you’re molding determines half the equation. The steel you build the mold from determines the other half — and too many engineers ignore this entirely until the tool wears out prematurely.
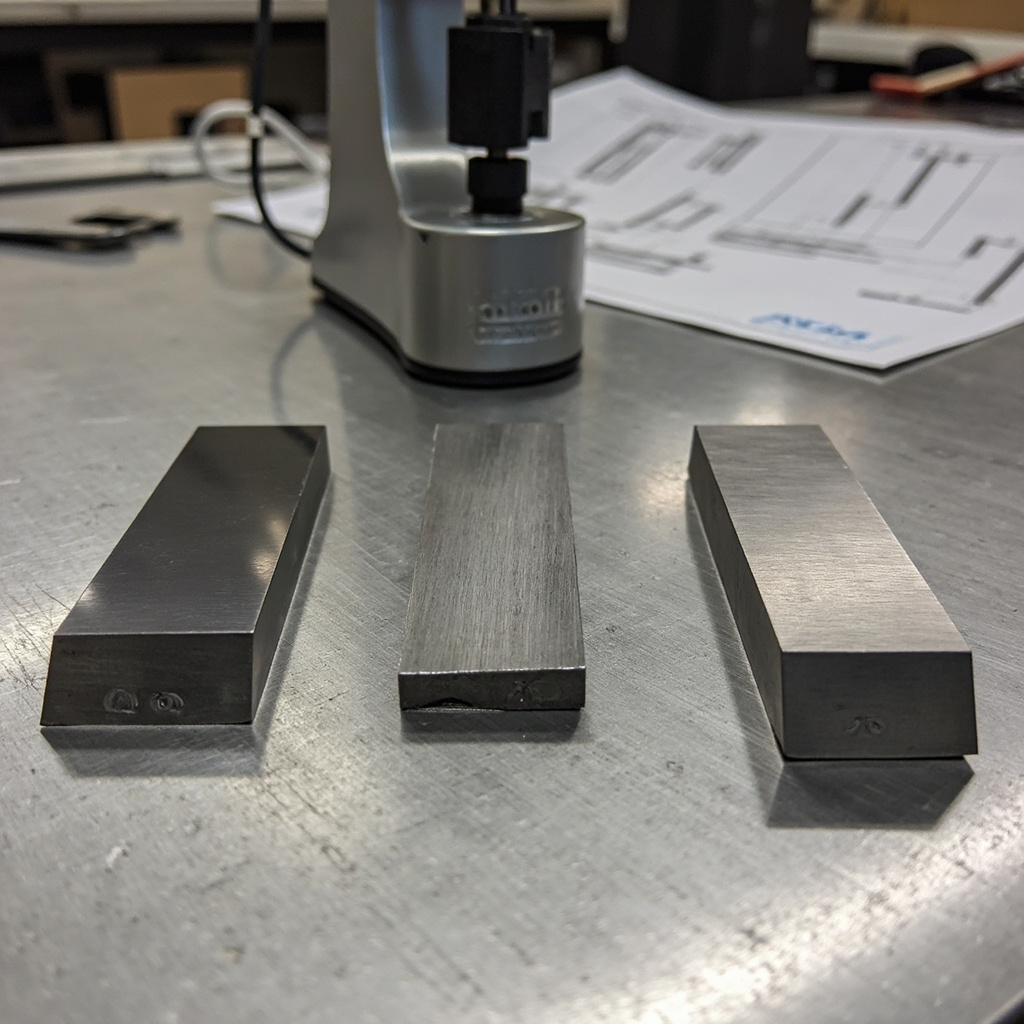
P20 (Pre-hardened tool steel): The workhorse. Pre-hardened to ~28–32 HRC, machines well, polishes to a decent finish. Good for prototype molds, low-to-medium volume (<100k cycles), and non-abrasive materials like ABS, PP, and unfilled PC. If you're doing an initial production run and want to keep mold cost down, P20 is the default.
H13 (Hot work tool steel): When you need the mold to last. Hardened to 48–52 HRC after machining. Excellent wear resistance for glass-filled materials (PA66 GF30 will eat P20 for breakfast). Good thermal fatigue resistance — handles the repeated heating/cooling cycles of high-volume production. This is what production automotive molds are made of.
S136 / 420 Stainless: Corrosion-resistant mold steel. Required when molding PVC (which releases HCl gas — yes, hydrochloric acid, inside your mold) or when the mold will sit idle in humid environments. Also the go-to for medical and optical parts that demand the highest polish quality. More expensive than H13, harder to machine, but irreplaceable when you need it.
NAK80: A precipitation-hardening mold steel that polishes to an exceptional mirror finish. For high-gloss cosmetic parts — think smartphone cases, cosmetic packaging, automotive interior trim with a piano-black finish. It’s expensive and softer than H13, so not for abrasive materials.
Aluminum mold alloys (QC-10, Alumec): For prototype tools and very low-volume production (under 10k cycles). Aluminum molds machine fast, cost less, and have excellent thermal conductivity — cycles can be 20–30% faster than equivalent steel molds. But they wear quickly, especially with glass-filled materials. Great for bridge tooling and design validation.
The mistake I see most: Specifying P20 for a 200k/year part in glass-filled nylon because “we want to keep mold cost down.” The mold costs 30% less and wears out in six months. Then you’re paying for another mold — and losing production time. Total cost of ownership beats initial mold cost every time.
Cost & Performance Trade-offs in Mold Design
Mold cost isn’t just about steel grade and number of cavities. The big cost drivers are the ones that catch designers off guard:
Undercuts & side actions: Every undercut on your part — a hole in the side wall, a snap-fit tab facing outward, a recessed lip — requires a slide or lifter in the mold. Slides are expensive. A simple 2-plate mold with zero undercuts might cost $5,000. Add two slides and a lifter, and you’re at $15,000+. Before finalizing your part design, ask: Can this feature be reoriented to eliminate the undercut? Sometimes rotating a hole by 90 degrees saves $5,000 in mold cost.
Surface finish and texture: A SPI-A2 mirror polish on the cavity adds significant mold maker hours. A simple SPI-C1 (600-grit stone finish) is fast and cheap. Mold-Tech textures (MT-11000 leather grain, etc.) add cost but hide sink marks and flow lines — often cheaper than trying to eliminate them through mold design alone.
Number of cavities: More cavities = more parts per cycle, but the mold cost doesn’t scale linearly. A 4-cavity mold doesn’t cost 4× what a single-cavity mold costs — it’s typically 2–3×. But: more cavities also mean greater risk of filling imbalance, and maintenance gets more complex. For a new product, start with a single-cavity tool. Validate the part and the market before scaling up.
Cooling design: Simple drilled cooling lines are cheap. Conformal cooling — 3D-printed cooling channels that follow the part contour — can slash cycle times by 30–40% but adds significant mold cost. Worth it for high-volume production, hard to justify for 20k parts/year.
The sweet spot: Most of our customers find that a well-designed single-cavity H13 mold with optimized conventional cooling delivers the best balance of part quality, mold longevity, and upfront investment. When volumes hit 100k+ per year, that’s when hot runners and multi-cavity start making financial sense.
Quality Standards & Best Practices
A mold that makes good parts on day one but degrades by day 100 isn’t a good mold. Here’s what separates a production-ready tool from one that’ll haunt your inbox with quality complaints:
- DFM (Design for Manufacturability) review — before steel is cut. A proper mold maker reviews your part design and flags issues: walls too thick, ribs too deep for ejection, gates in cosmetic surfaces, draft angles insufficient. This isn’t them being difficult — it’s them saving you from a $30,000 mold that makes parts you can’t use. We provide detailed DFM reports as standard on every project. If your mold maker doesn’t offer one, find a different mold maker.
- Mold flow analysis. For anything beyond the simplest parts, simulate the fill before cutting steel. Modern mold flow software predicts weld line locations, air traps, sink marks, and warpage with surprising accuracy. It costs a few hundred dollars and can prevent a mold redesign that costs thousands.
- First-article inspection (FAI). The first parts off a new mold should be measured against the drawing — every dimension, every tolerance. Don’t assume the mold works because parts “look right.” PP shrinks 1.5–2.0%; PA66 GF30 shrinks 0.3–0.7%. The mold cavity is cut oversize to compensate, and shrinkage isn’t always uniform. Measure it.
- SPI mold standards. The Society of the Plastics Industry classifications (Class 101 through 105) define mold life expectancy. Class 101 (>1 million cycles) costs more than Class 105 (<500 cycles). Align the mold class with your production plan — building a million-cycle mold for a 5,000-part prototype run is wasteful in the wrong direction.
- Documentation package. You should receive: mold assembly drawings, component BOM, cooling circuit diagram, ejector pin layout, recommended processing parameters, and maintenance schedule. If your mold maker hands you the tool with none of this, good luck troubleshooting it six months from now.
One reality check: approximately 30% of mold issues stem from part design problems that could have been caught in DFM. The other 70% are split between machining errors, material quality, and processing parameters. A thorough DFM review eliminates a third of your risk before you spend a dollar on steel.

Getting Started: Practical Steps
- Finalize your part design first. Don’t start mold design with a “mostly done” CAD model. Every change after steel is cut costs money. Lock the design. If you’re iterating, go with rapid prototyping (CNC or 3D printed prototypes) before committing to a mold.
- Pick your material — it drives everything. The shrinkage rate, flow characteristics, abrasiveness, and processing temperature of your plastic directly determine gate placement, runner sizing, cooling design, and mold steel selection. Use our Material Selection Hub if you’re still deciding.
- Request a DFM from your mold maker. Send us your 3D model (STEP or IGES). We’ll review it and tell you: what mold type fits, where the parting line should go, what slides/lifters you need, and where gates should be placed. This is free and takes the guesswork out of budgeting. Our Product Design for Manufacturing guide helps too.
- Define your volume and lifecycle. 5,000 parts or 500,000? Is this a one-time run or ongoing production? This determines mold class, steel selection, and whether you want single or multi-cavity. Be honest — an overbuilt mold wastes money; an underbuilt mold wastes even more.
- Plan for sampling and validation. Budget for T1 samples (first shots), dimensional inspection, and the possibility of minor mold adjustments after the first run. Almost every mold needs some tuning. If your schedule assumes perfect parts from shot one, you’re going to be disappointed.
Our one-stop manufacturing solution covers the entire journey — part design review, mold manufacturing, sampling, and production — so you don’t have to juggle multiple vendors.
Frequently Asked Questions
Q: How long does it take to build an injection mold?
A simple 2-plate mold typically takes 4–6 weeks from finalized design to T1 samples. A complex mold with multiple slides, hot runner, and textured surfaces can take 10–14 weeks. The biggest variable isn’t machining time — it’s design iterations. Lock the part design before mold making starts, or add 2–4 weeks per change round.
Q: What’s the difference between a prototype mold and a production mold?
A prototype mold (often aluminum or soft P20 steel) is built for speed and low cost — typically under 5,000 cycles. It validates the design. A production mold (H13, S136, or hardened tool steel) is built for longevity — 100,000 to 1,000,000+ cycles. Production molds also have more refined cooling, better venting, and tighter tolerances. Using a prototype mold for production usually ends badly.
Q: Can I change my part design after the mold is built?
Yes, but it’s called “mold modification,” not “a quick tweak.” Adding steel is relatively easy (welding and re-machining). Removing steel from an existing cavity is permanent — you can’t put it back. Minor changes (adjusting a gate size, polishing a surface) are routine. Major geometry changes often mean new mold inserts or a completely new cavity. Lock your design before cutting steel.
Q: How many cavities should my mold have?
For new products: start with one. Validate the part, the market, and the molding process before scaling. The cost of a 4-cavity mold is 2–3× that of a single-cavity, but if the part design changes, you’re modifying four cavities, not one. For mature products with stable demand, calculate: (annual volume × cost of delay) versus (multi-cavity mold cost ÷ cavity count). Usually, if you’re above 200k parts/year, multi-cavity makes clear financial sense.
Q: What’s the most common reason molds fail early?
In my experience: wrong steel for the plastic. Molding 30% glass-filled nylon in a P20 mold — that glass fiber is literally abrasive blasting your cavity surface with every shot. After 20,000 cycles, dimensions drift, surfaces roughen, and flash appears. The fix isn’t better maintenance — it’s building the mold in H13 from the start. Second most common: inadequate cooling design causing thermal fatigue cracking. Your mold maker should know this, but ask the question anyway.
Conclusion
Injection mold design isn’t rocket science — but it is a discipline where every shortcut has a price tag. The best molds come from the best conversations: a product designer who understands the basics of parting lines, draft angles, and gating, talking to a mold maker who communicates clearly about what’s feasible and what isn’t.
The key decisions — mold type, steel selection, number of cavities, gating and cooling strategy — should be driven by your production reality, not by “what we’ve always done” or “whatever’s cheapest.” A mold that costs 40% more upfront but lasts 5× longer and cycles 20% faster is the cheaper mold.
We build molds here every day. Simple ones, complex ones, ones with more slides than a playground. And every one of them starts the same way: a conversation about what you actually need. See our mold design and manufacturing capabilities.
Related Resources
- Mold Design & Mold Making — Full Capabilities Overview
- Injection Molding Services — From Sampling to Production
- Material Selection Hub — Find the Right Plastic for Your Molded Parts
- 3D Printing Services — Validate Your Design Before Tooling
Let’s Build Your Mold
Whether you’ve got a finished CAD model and just need a DFM review, or you’re still sketching ideas on a whiteboard, we’ll help you get to a production-ready mold that makes great parts from shot one. Our mold design team speaks engineer — not sales — and we’ll give you honest feedback on your design, timeline, and budget. Start your mold project →

 English
 Dutch
Dutch German
 French
 Korean
 Russian
 Japanese
 Spanish
 Vietnamese
 Chinese
 Portuguese
 Arabic