
So You Need a Thousand Plastic Parts — Now What?
You’ve got a design. You need it made in volume. CNC machining sounds expensive for 10,000 units. 3D printing? Way too slow. That’s when injection molding enters the conversation — and honestly, it’s the only process that makes sense for high-volume plastic production.

But here’s the thing: injection molding isn’t just “fill a mold with plastic.” It’s a symphony of pressure, temperature, timing, and material science. Get one variable wrong, and you’re looking at warped parts, sink marks, or worse — a $50,000 mold that produces garbage.
I’ve spent years on the shop floor watching engineers learn this the hard way. This guide walks through what actually matters — the stuff that determines whether your parts come out perfect or end up in the scrap bin.
Core Concepts & Fundamentals
Injection molding works on a simple principle: melt plastic, inject it into a mold under high pressure, let it cool, eject the part. Simple concept, complex execution.
The process starts with plastic pellets — usually between 2-5mm in diameter — fed into a heated barrel. A reciprocating screw inside that barrel does three things: it conveys the material forward, compresses it to remove air pockets, and melts it through friction and external heating. By the time the plastic reaches the front of the barrel, it’s a homogeneous molten mass at temperatures ranging from 200°C to 300°C depending on the material.
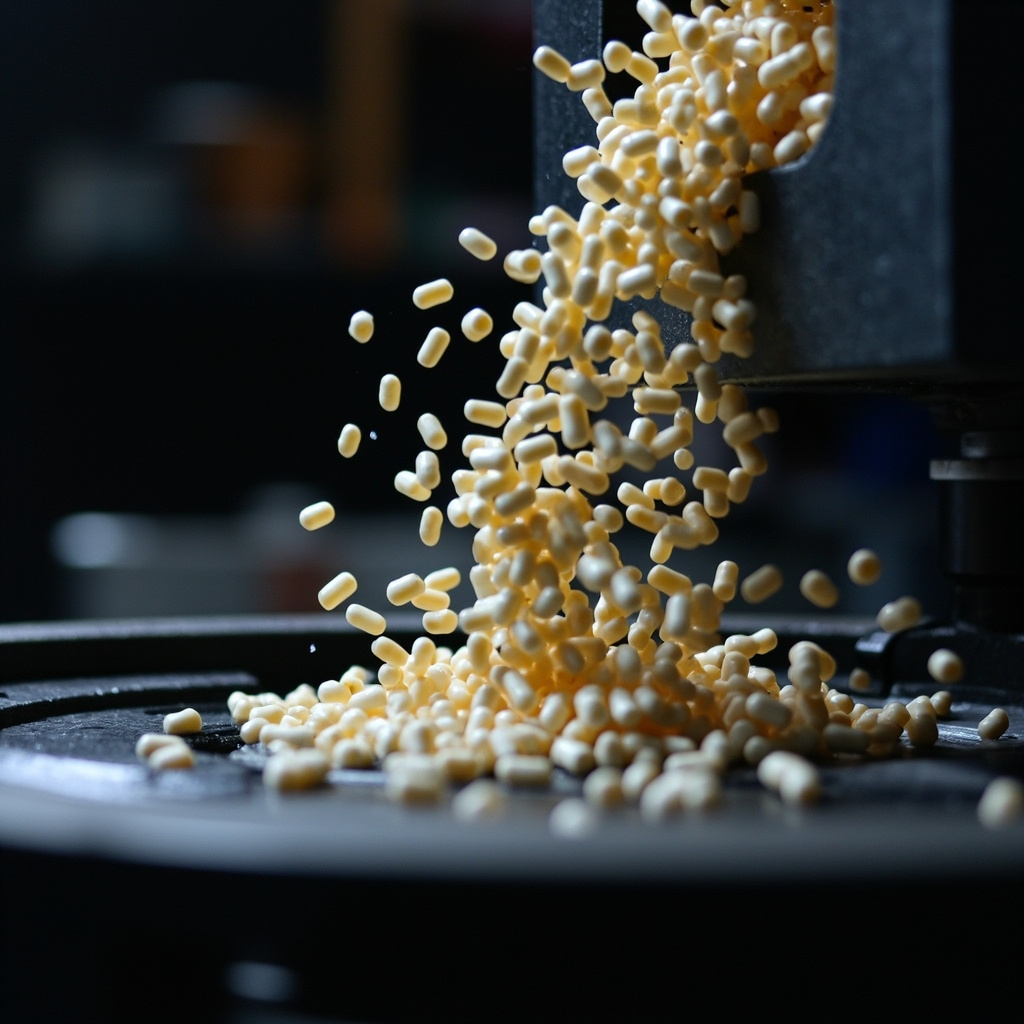
Then comes the injection phase. The screw moves forward like a plunger, forcing the molten plastic into a closed mold at pressures between 10,000 to 30,000 psi. The mold — typically made from hardened steel or aluminum — has been precision-machined to create the negative of your desired part. Cooling channels run through the mold to extract heat as quickly as possible.
Once the plastic solidifies (usually 5-60 seconds depending on wall thickness), the mold opens, ejector pins push the part out, and the cycle repeats. A well-optimized cycle for a small part can take as little as 10 seconds.
Key Processes & Technologies
Not all injection molding is created equal. Different part geometries, materials, and production requirements call for different approaches.
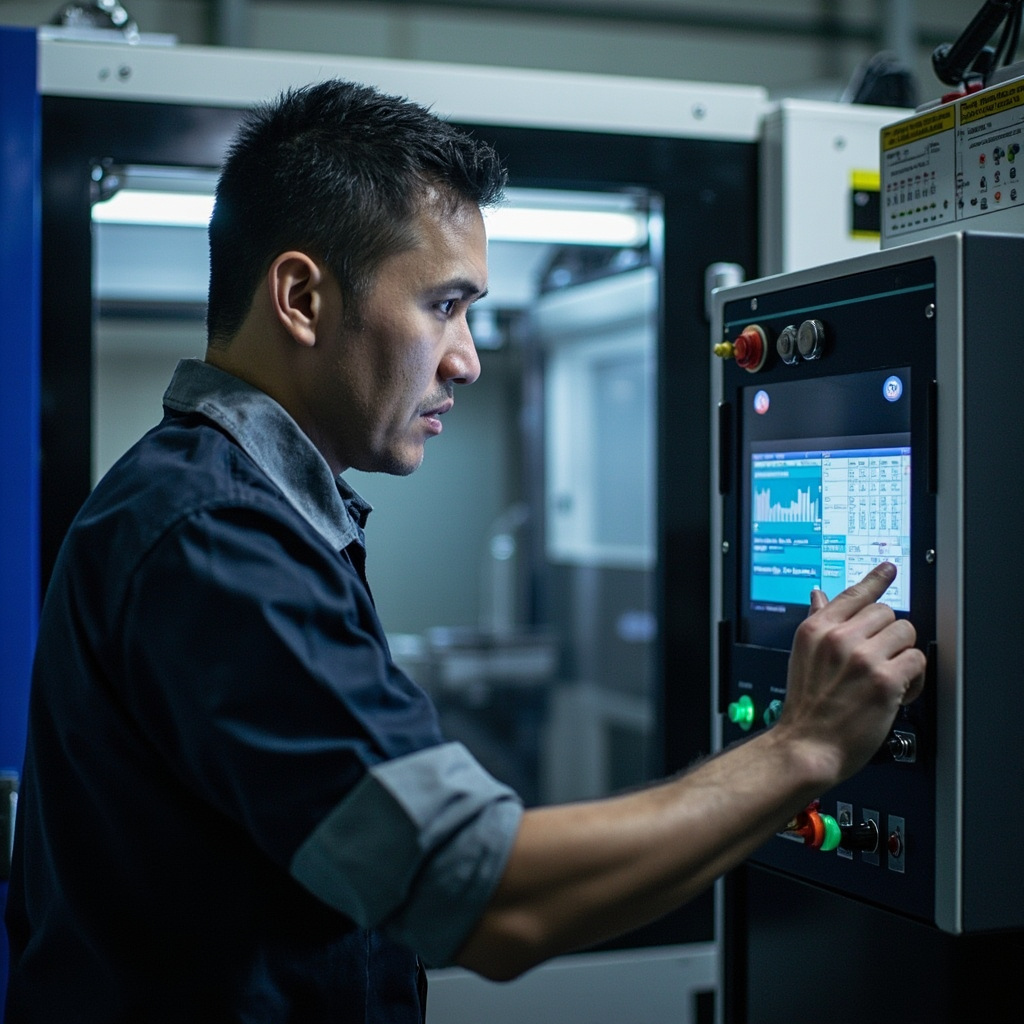
Here’s what you need to know about the main variants:
| Process | Best For | Typical Volume | Tooling Cost | Part Complexity |
|---|---|---|---|---|
| Standard Injection Molding | Rigid parts, general applications | 1,000 – 10M+ | High ($10K-$100K+) | Medium to High |
| Overmolding | Soft-touch grips, seals, multi-material parts | 5,000 – 1M | Very High | High |
| Insert Molding | Threaded inserts, electrical contacts, metal reinforcement | 2,000 – 500K | High | Medium |
| Micro Molding | Medical devices, precision components | 10K – 10M | High | Very High |
| Gas-Assist | Large hollow parts, thick walls without sink marks | 1,000 – 100K | High | Medium |
| Two-Shot Molding | Multi-color, multi-material in single cycle | 10K – 1M | Very High | Very High |
The key difference? Tooling. A standard single-cavity aluminum mold might run $10,000-$15,000. A multi-cavity hardened steel production mold? You’re looking at $50,000-$150,000 or more. But that steel mold will run millions of parts. The amortization math matters.
Industrial Applications
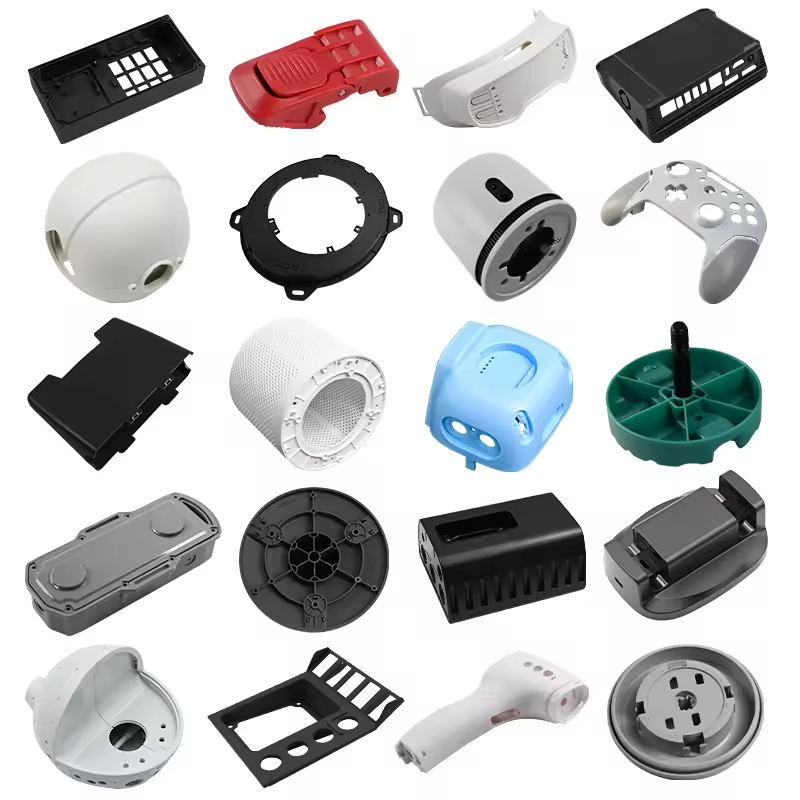
Walk through any manufacturing facility and you’ll see injection molded parts everywhere. They’re in the cars we drive, the medical devices that keep us healthy, the electronics we can’t put down.
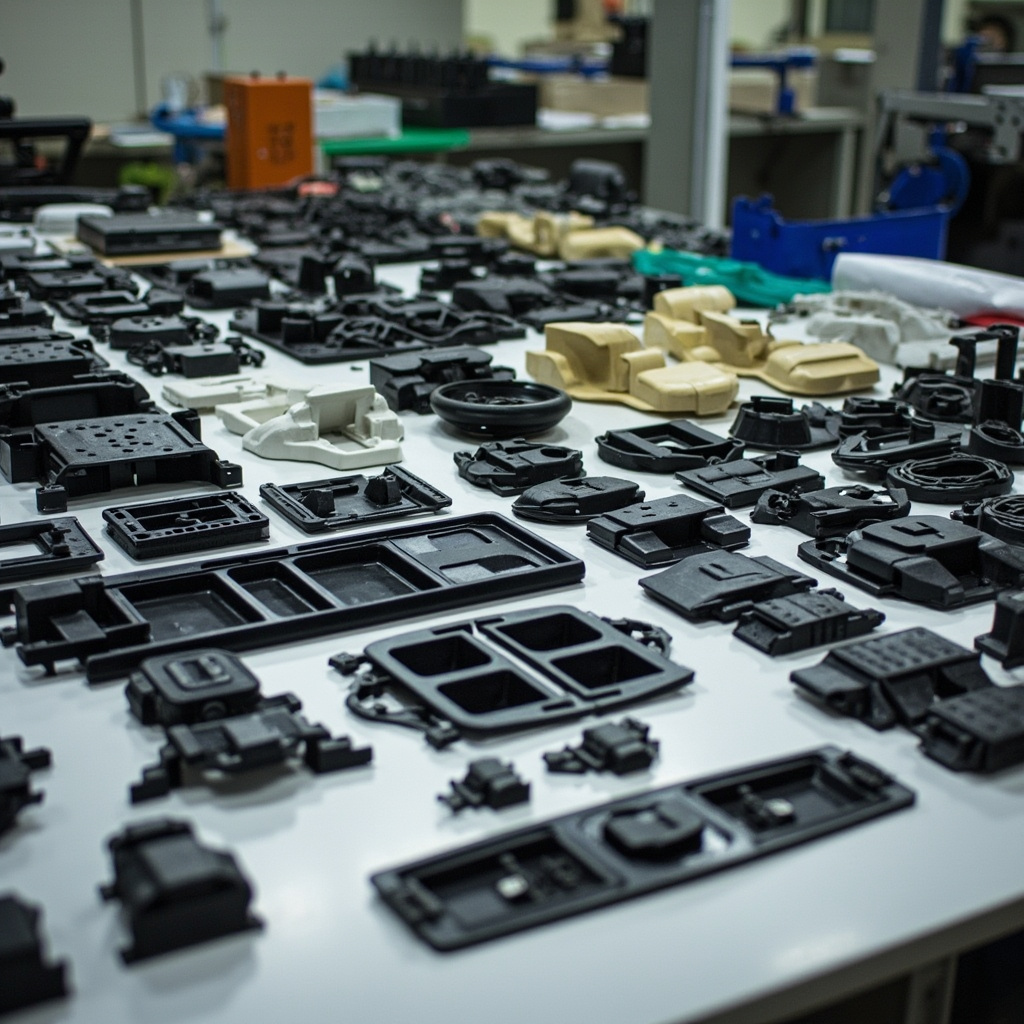
Here’s where injection molding shines across different industries:
| Industry | Application | Material | Key Requirement | nylonplastic.com Advantage |
|---|---|---|---|---|
| Automotive | Interior trim, under-hood components | PA6, PP, ABS | Heat resistance, dimensional stability | Automotive-grade materials with PPAP documentation |
| Medical | Housings, connectors, disposable devices | PC, PE, PP (medical grade) | Biocompatibility, cleanroom production | ISO 13485 certified cleanroom molding capabilities |
| Electronics | Enclosures, connectors, insulators | PBT, PC, LCP | Flame retardancy, precision tolerances | UL-rated materials, tight tolerance ±0.05mm |
| Industrial Equipment | Gear housings, pump components | PA66, POM, PBT | Chemical resistance, wear resistance | Engineering-grade materials with glass fiber reinforcement |
| Consumer Products | Housings, handles, cosmetic parts | ABS, PP, PC/ABS | Surface finish, color consistency | Color matching to ΔE<1.0, Class A surface finishes |
| Furniture | Chair bases, casters, decorative elements | PP, PA, TPU | Load bearing, UV stability | UV-stable materials, load testing validation |
Material Selection — What Actually Works
Material choice makes or breaks injection molding projects. I’ve seen perfectly good molds produce useless parts because someone specified the wrong grade.
Here’s what actually matters in material selection:
ABS (Acrylonitrile Butadiene Styrene) — The workhorse. Good impact resistance, easy to process, takes color well. Use it for enclosures, housings, and general-purpose parts. Not great for high-temperature or outdoor applications.
PP (Polypropylene) — Cheap, chemical resistant, and processes easily. Living hinges are possible because PP can flex repeatedly without breaking. Downside? Low stiffness and poor low-temperature performance.
PA6/PA66 (Nylon) — When you need strength and wear resistance. Absorbs moisture though, which affects dimensions. Glass-filled grades boost stiffness dramatically. Common in nylon engineering applications.
PC (Polycarbonate) — Transparent, tough, and dimensionally stable. But it’s notch-sensitive and requires thorough drying before processing. Great for lenses and impact-resistant applications.
POM (Acetal/Delrin) — Excellent for gears and moving parts. Low friction, good dimensional stability, but difficult to bond and paint.
PBT — Electrical applications love this stuff. Good insulation properties, flame retardant grades available, and processes consistently.
TPU/TPE — For overmolding and soft-touch applications. Shore hardness ranges from 60A to 95A. Bonding to rigid substrates requires proper material matching.

Always consult with your molder on material selection. At nylonplastic.com, we’ve seen projects fail because engineers picked materials from datasheets without considering processing realities. The material selection hub covers this in depth.
Cost & Performance Trade-offs
Let’s talk money. Injection molding has high upfront costs but becomes incredibly economical at volume.
Tooling costs vary dramatically:
– Aluminum prototype mold: $3,000-$15,000 (1,000-10,000 parts)
– Soft steel pre-production mold: $15,000-$40,000 (10,000-100,000 parts)
– Hardened steel production mold: $40,000-$150,000+ (500,000+ parts)
Part cost drivers:
– Material: $1.50-$8.00/lb depending on grade
– Machine hour rate: $30-$150/hour based on press size
– Cycle time: Directly impacts parts/hour
– Labor: Minimal for automated cells, significant for manual operations
– Secondary operations: Trimming, assembly, finishing
The break-even point compared to CNC machining typically falls between 500-2,000 parts depending on part complexity. CNC wins for prototypes and low volumes. CNC machining services might actually be your better bet for under 500 parts.
Optimization strategies:
– Multi-cavity molds increase throughput but raise tooling costs
– Hot runner systems eliminate runner waste but add $5,000-$20,000 to tooling
– Family molds (multiple different parts in one mold) work for lower volumes
– Reduced wall thickness cuts material and cycle time
Quality Standards & Best Practices
Quality in injection molding isn’t about inspecting parts after they’re made — it’s about building quality into the process.
Design for Injection Molding (DfM) rules:
1. Uniform wall thickness — Varying thickness causes differential cooling, leading to warpage and sink marks. Keep variations under 25%.
2. Draft angles — 1-3 degrees minimum on vertical walls. More for textured surfaces. Without draft, parts stick in the mold.
3. Radiused corners — Sharp inside corners create stress concentrations and trap air. Outside corners thin out during flow. Use radii equal to wall thickness.
4. Boss design — Core out bosses to maintain uniform wall thickness. Connect bosses to main walls with ribs, not solid walls.
5. Rib design — Ribs should be 50-70% of nominal wall thickness to avoid sink marks. Height no more than 3x thickness.

Process control matters:
– Shot-to-shot consistency requires monitoring melt temperature, injection pressure, and cooling time
– Statistical Process Control (SPC) catches drift before it produces bad parts
– Cavity pressure monitoring provides real-time quality data
– Moisture analysis for hygroscopic materials — nylon and polycarbonate need thorough drying
Documentation requirements:
– PPAP (Production Part Approval Process) for automotive
– IQ/OQ/PQ protocols for medical devices
– First Article Inspection (FAI) for aerospace
– Certificates of Conformance for materials
Getting Started — Practical Steps
Ready to move forward with injection molding? Here’s the sequence:
Step 1: Design Review
Send your 3D CAD files to a molder who understands DfM. A good molder will catch issues before tooling starts. At nylonplastic.com, our product design services team reviews every design for manufacturability.
Step 2: Material Selection
Don’t guess. Provide your requirements — temperature, chemical exposure, load conditions, regulatory needs — and let the molder recommend specific grades.
Step 3: Prototyping
Before committing to production tooling, prototype. Either CNC machine a few parts from similar materials or use a soft tool for low-volume testing. This catches design issues early.
Step 4: Mold Design & Build
The molder designs the mold — gating, cooling, ejection. Review the mold design carefully. Changes after steel cutting are expensive.
Step 5: Sampling & Qualification
First shots off the mold go through dimensional inspection, visual checks, and functional testing. Adjust process parameters to dial in quality.
Step 6: Production
Once qualified, the mold moves to production. Establish process windows, document parameters, and implement SPC.
Frequently Asked Questions
Q: How many parts do I need to justify injection molding tooling costs?
A: Generally 1,000-2,000 parts minimum, but it depends on part complexity and material. Simple parts might break even at 500 units; complex geometries could need 5,000. Run the math: tooling cost divided by the difference between molded part cost and alternative (CNC or 3D printed) cost. That’s your break-even quantity.
Q: Can I use the same mold for different materials?
A: Sometimes, but it’s risky. Different materials shrink at different rates — PA6 shrinks 1.0-1.5%, PP shrinks 1.5-2.5%. That means dimensions change. If you need multiple materials, design the mold for the highest shrink material and adjust process parameters for others, or plan for requalification with each material change.
Q: How long does a production mold last?
A: Hardened steel molds can run millions of cycles with proper maintenance. Aluminum molds? Maybe 10,000-25,000 parts before wear affects quality. Maintenance matters — regular cleaning, checking for wear on critical surfaces, and proper storage between runs extends mold life significantly.
Q: Why do my parts have sink marks?
A: Sink marks happen when thick sections cool and contract more than thin sections. Solution: redesign with uniform wall thickness, add sinks strategically in non-critical areas, or use gas-assist molding for thick sections. Sometimes adjusting process parameters (higher packing pressure, longer cooling time) helps, but design is the real fix.
Q: What’s the difference between hot runner and cold runner molds?
A: Cold runner molds inject plastic into channels that become waste — you grind and regrind this material. Hot runner molds keep the runner molten, so no waste. Hot runners cost more upfront ($5K-$20K additional) but save material and cycle time. Break-even is usually 50,000-100,000 parts depending on material cost.
Conclusion
Injection molding remains the undisputed champion for high-volume plastic part production. Nothing else comes close to its combination of speed, precision, and cost-efficiency at scale. But it demands respect — for the tooling investment, the process complexity, and the material science involved.
The engineers who succeed with injection molding are the ones who plan ahead. They design for manufacturability, select materials based on processing reality not just datasheets, and partner with molders who catch problems before they become expensive mistakes.
Whether you’re ramping up production on an existing design or exploring options for a new project, the fundamentals don’t change: uniform walls, proper draft, correct material selection, and thorough DfM review. Master these, and injection molding becomes a powerful tool in your manufacturing arsenal.
Related Resources
– Mold Design & Mold Making Services — Understanding tooling options and costs
– Material Selection Hub — Comprehensive guide to engineering plastics
– CNC Machining Services — For prototypes and low-volume production
– Surface Finishing & Customization — Post-molding finishing options
Need help deciding if injection molding is right for your project? Our engineering team at nylonplastic.com reviews designs daily and provides honest assessments — including when another process makes more sense. Get in touch and let’s figure out the best path forward.

 English
 Dutch
Dutch German
 French
 Korean
 Russian
 Japanese
 Spanish
 Vietnamese
 Chinese
 Portuguese
 Arabic